Blueprint Section - OpenAI
At Get StartedThe basic usage of OpenAI has been introduced in previous sections. Here, we provide a detailed explanation of its usage.
Text chat
Use OpenAI for text chatting.
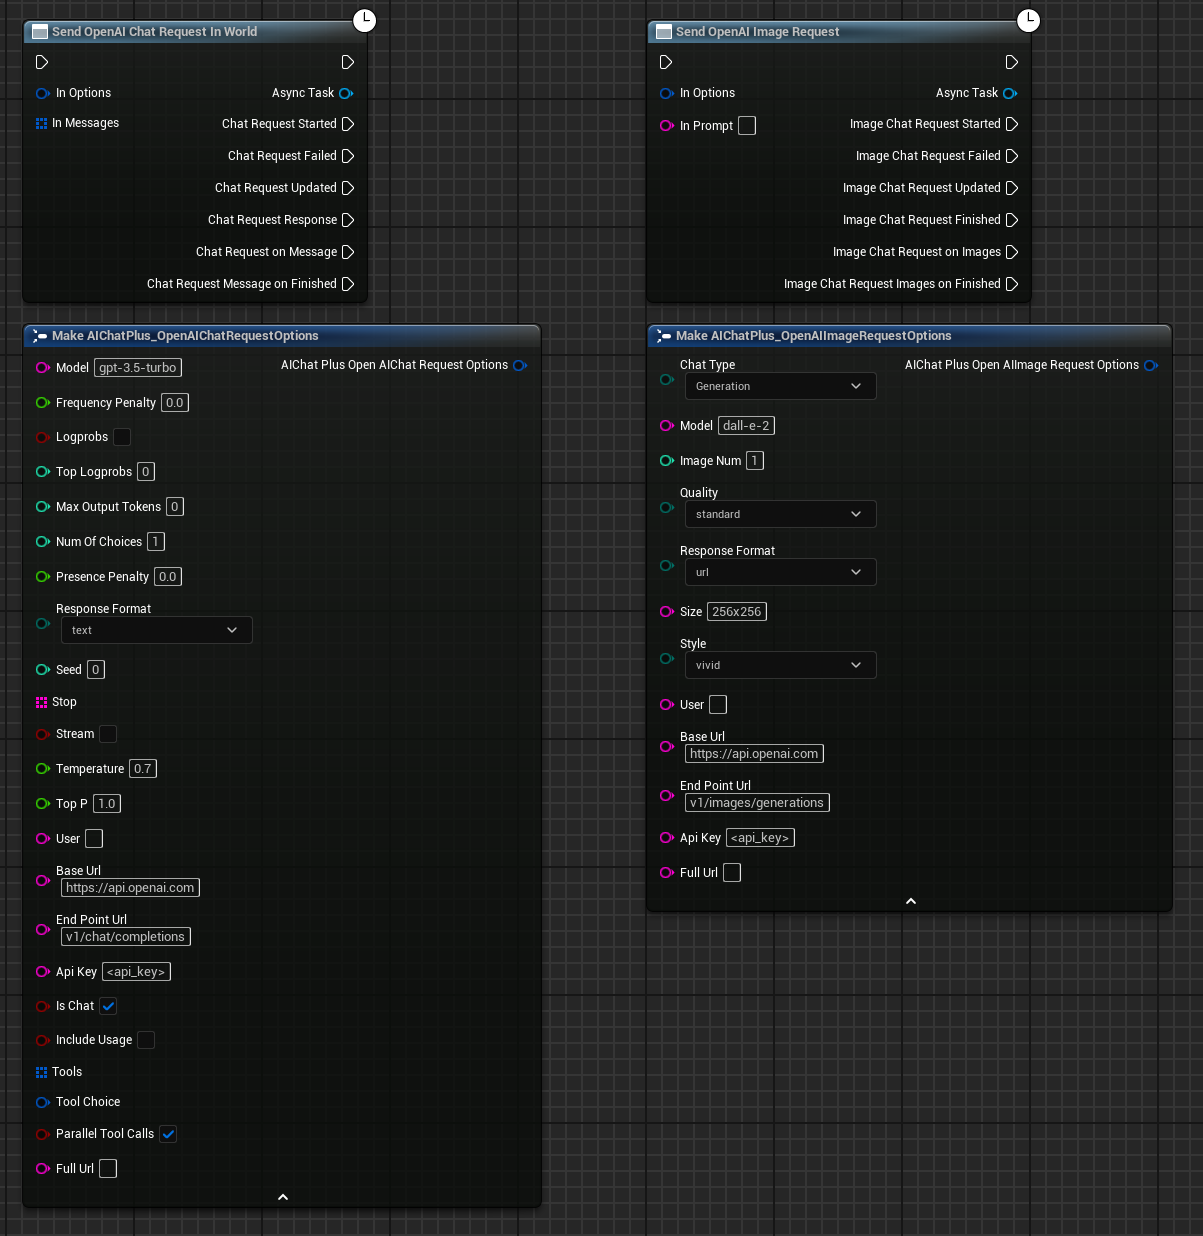
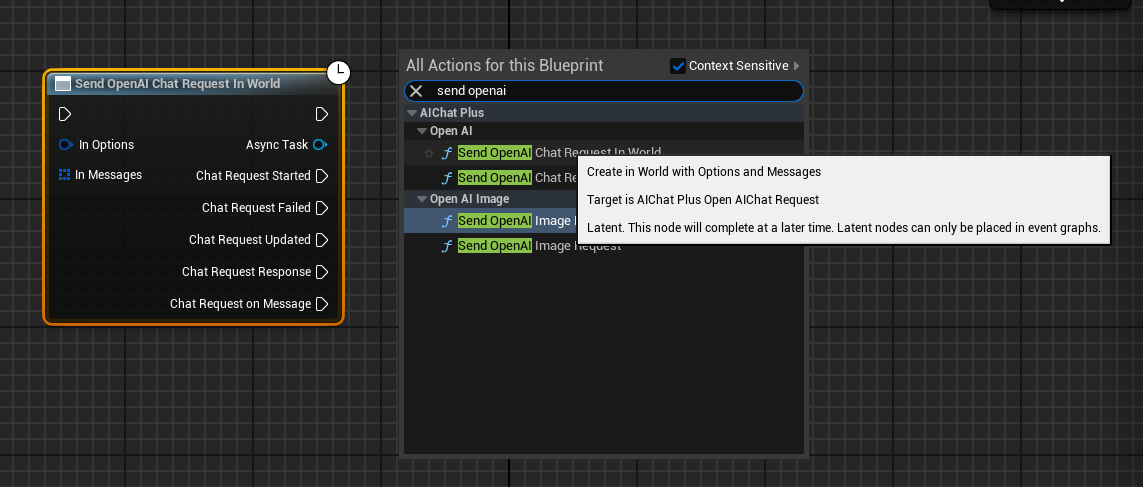
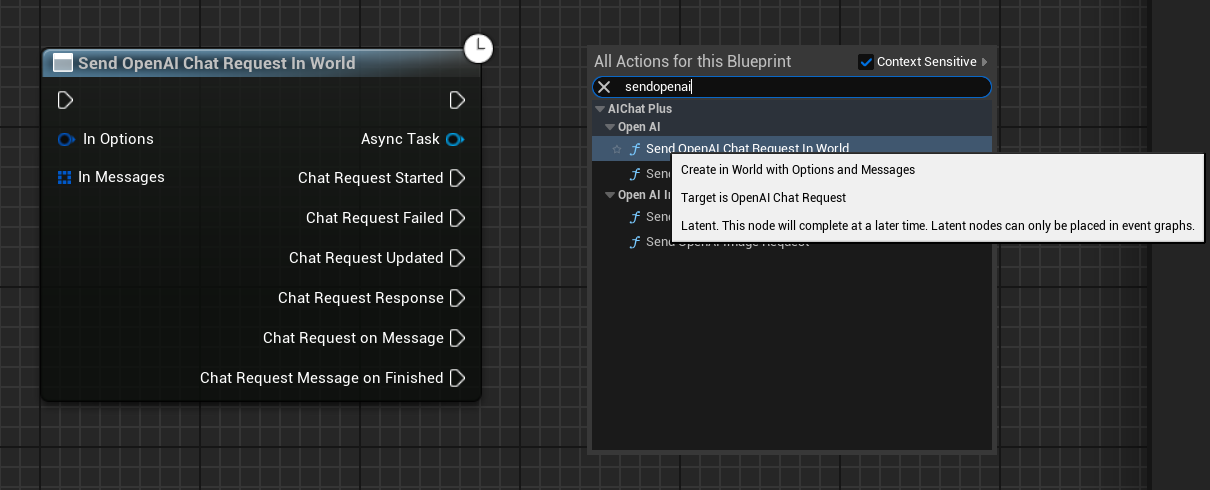
Create a node in the blueprint by right-clicking and selecting Send OpenAI Chat Request In World.
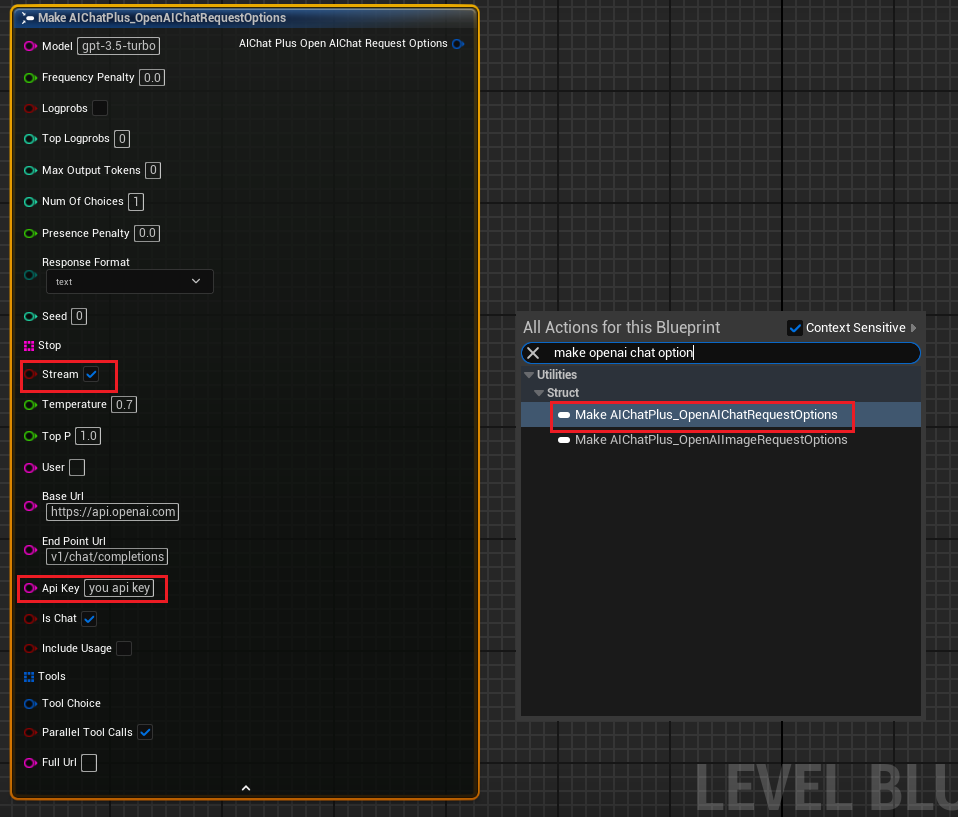
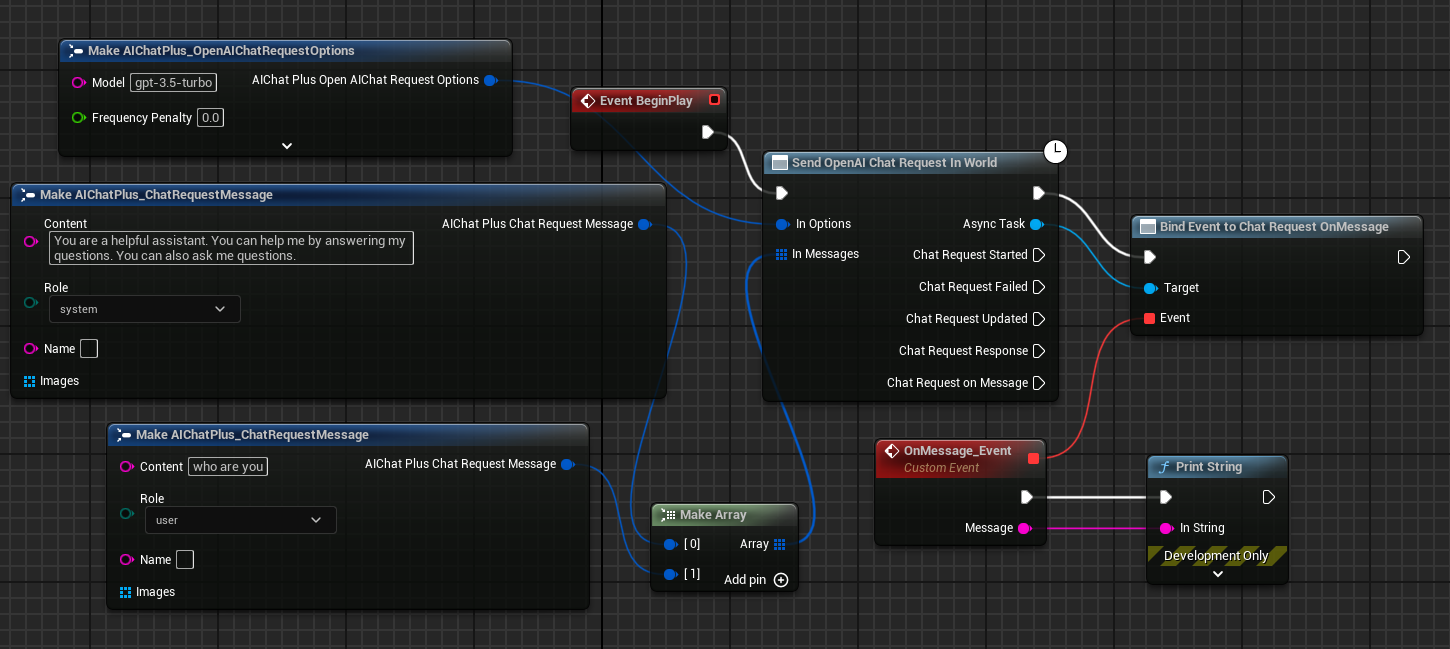
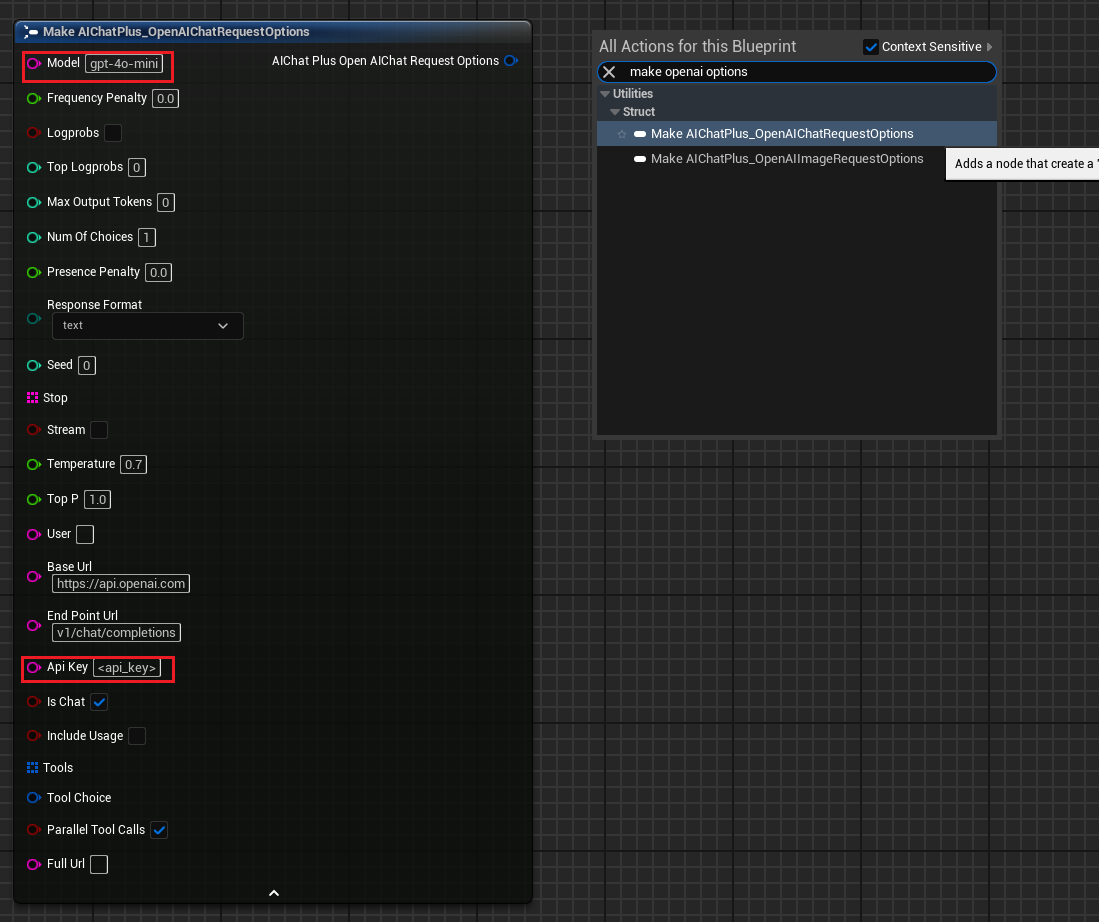
Create the Options node and set Stream=true, Api Key="your API key from OpenAI".
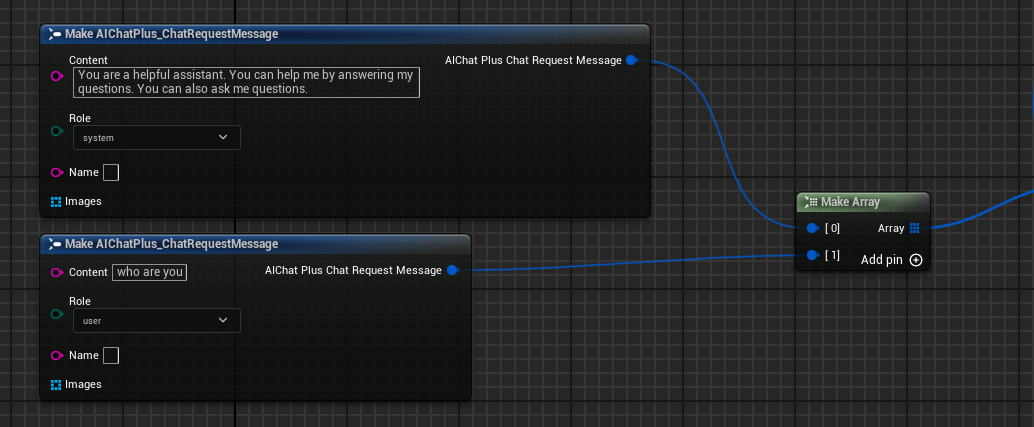
Create Messages, add a System Message and a User Message separately.
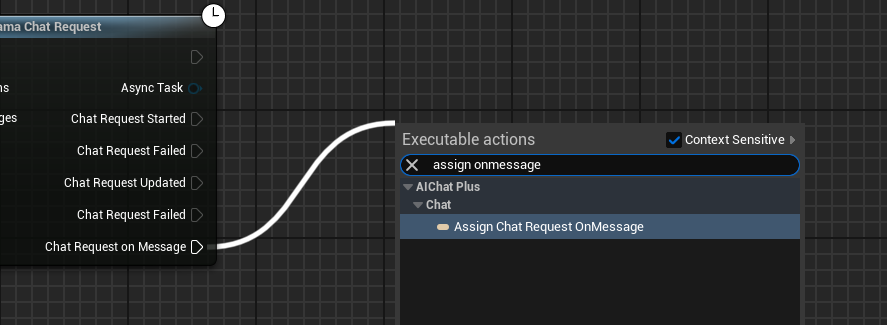
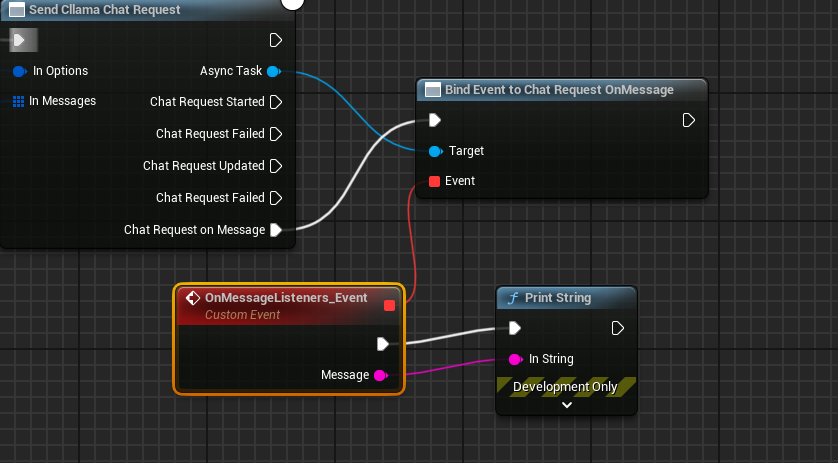
Create a delegate to receive the model's output information and print it on the screen.
The complete blueprint looks like this. Running the blueprint will show the message returned on the game screen printing large models.

Generate image based on the text
Create images using OpenAI.
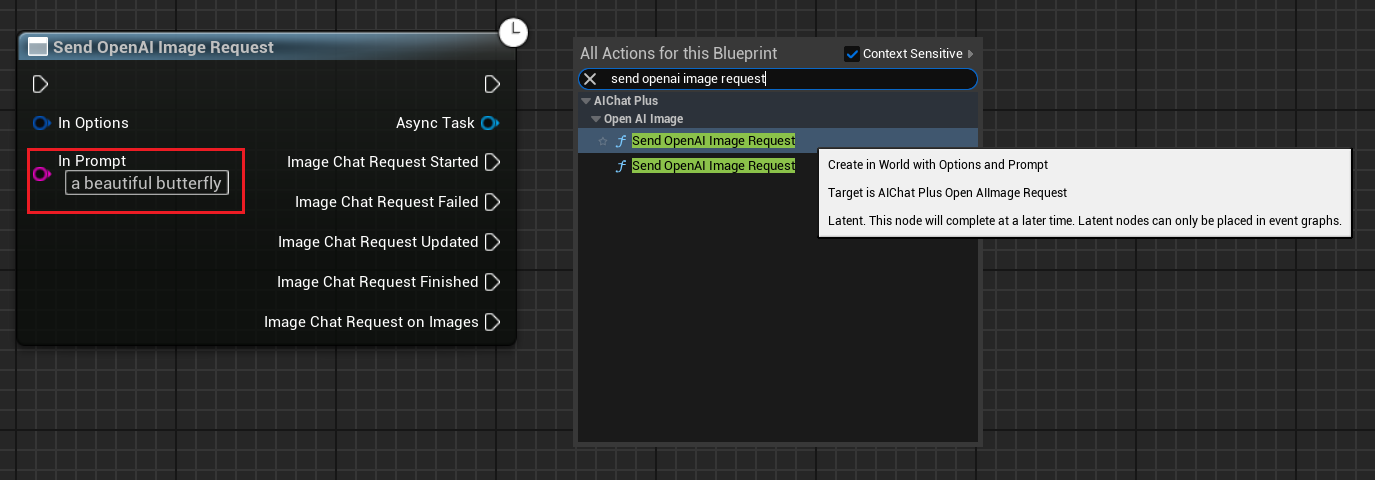
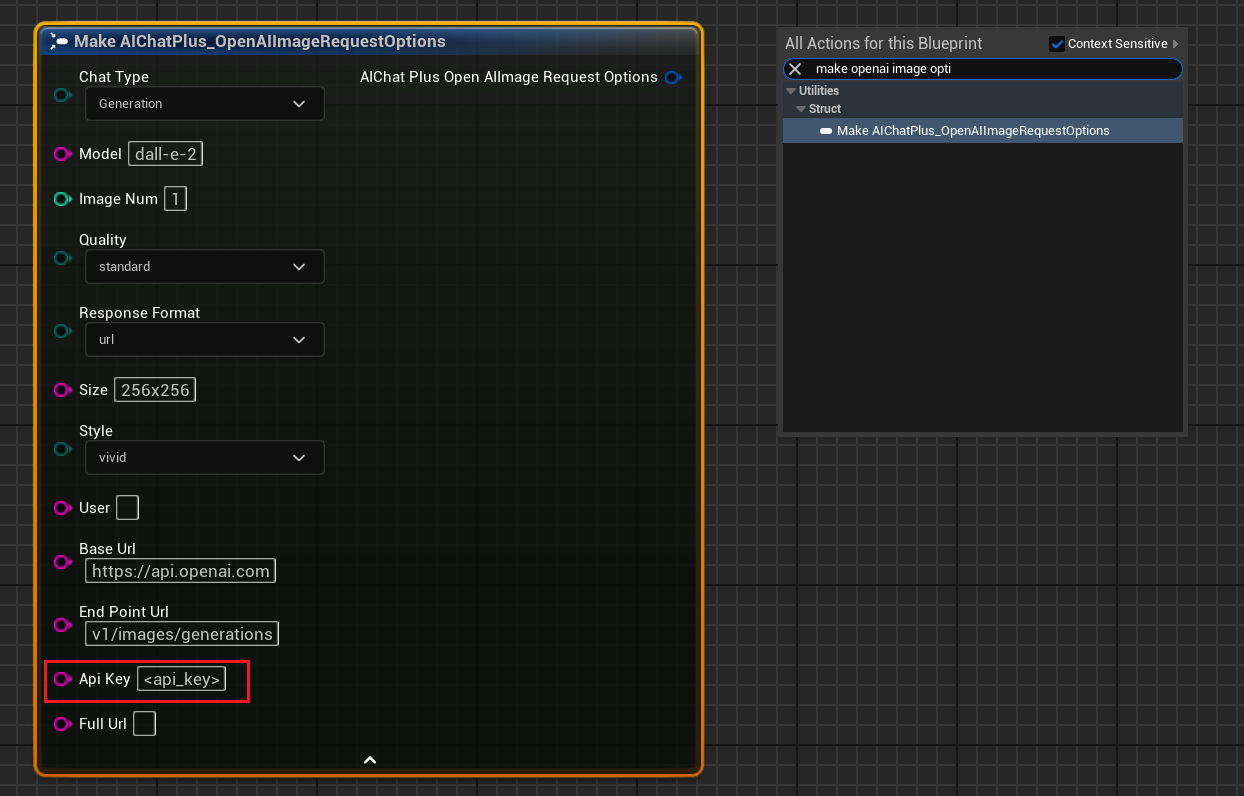
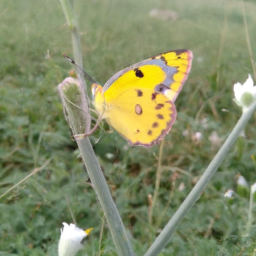
In the blueprint, right-click to create a node named 'Send OpenAI Image Request', and set 'In Prompt="a beautiful butterfly"'.
Create an Options node and set Api Key="your API key from OpenAI".
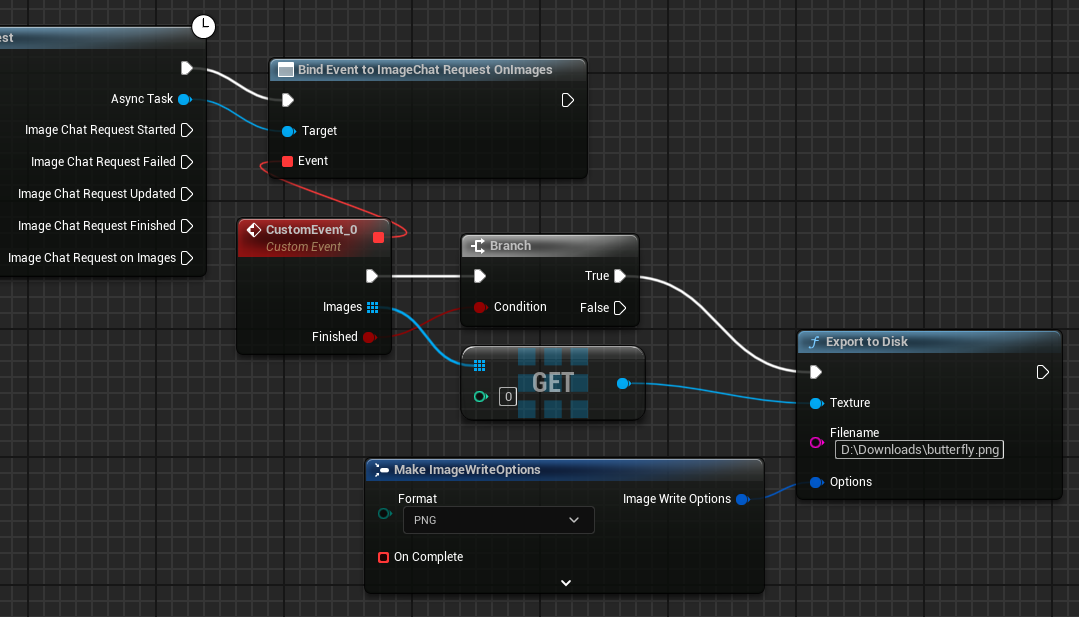
Bind the "On Images" event and save the images to the local hard drive.
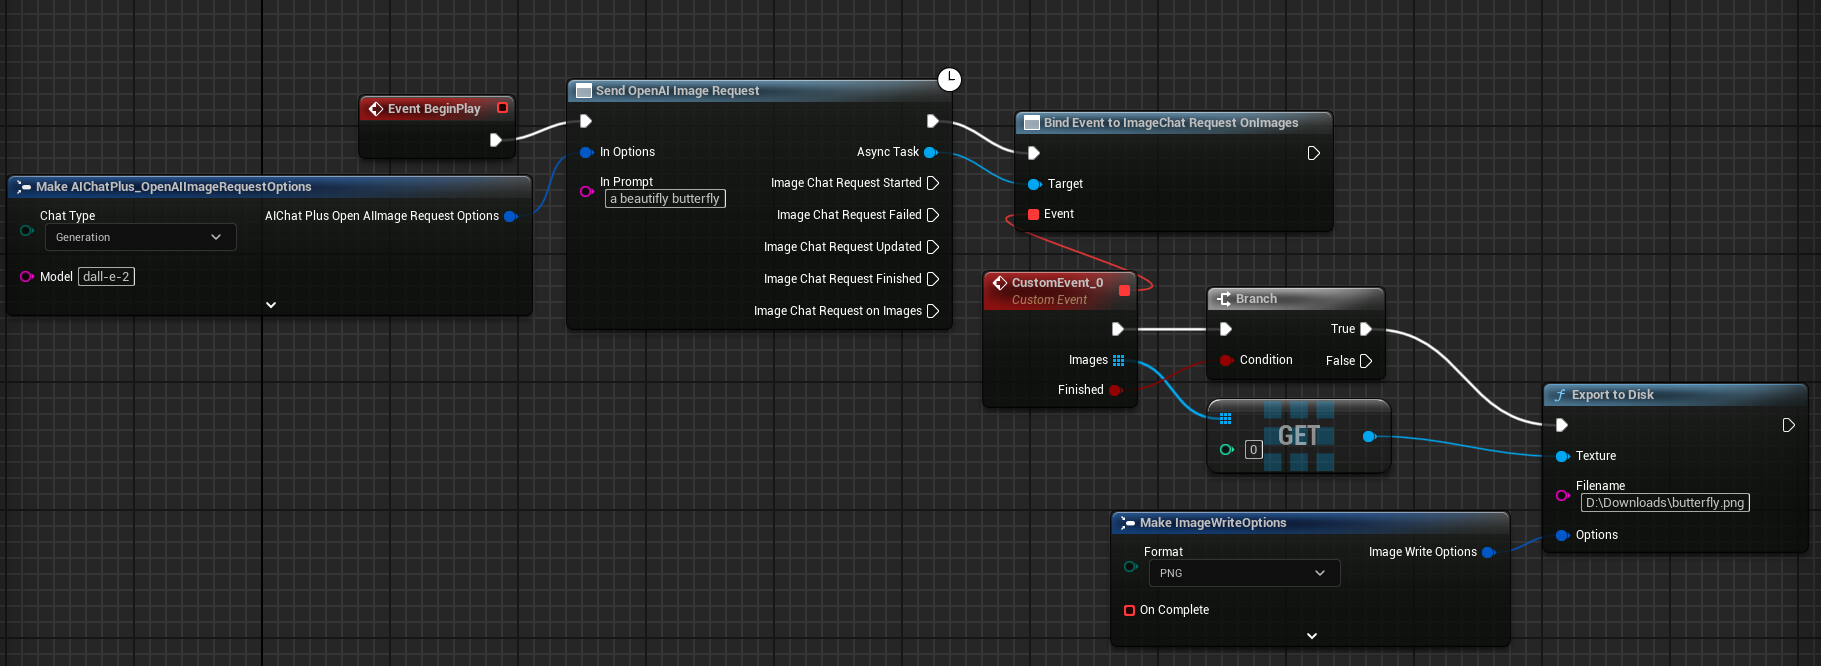
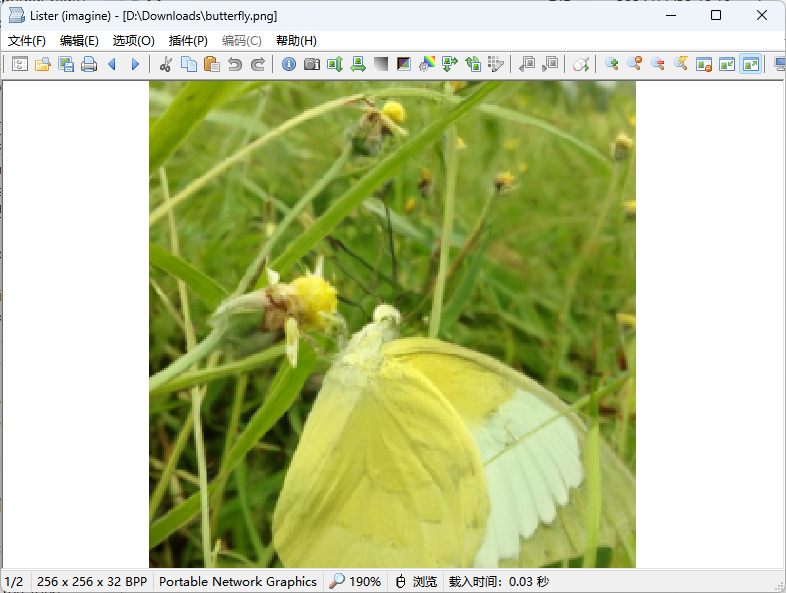
The complete blueprint looks like this. Run the blueprint to see the image saved at the specified location.
Generate Text from Image
Use OpenAI Vision to analyze images.
Create a node Send OpenAI Image Request by right-clicking on the blueprint.
Create an Options node, and set Api Key="your API key from OpenAI", and set the model to gpt-4o-mini.
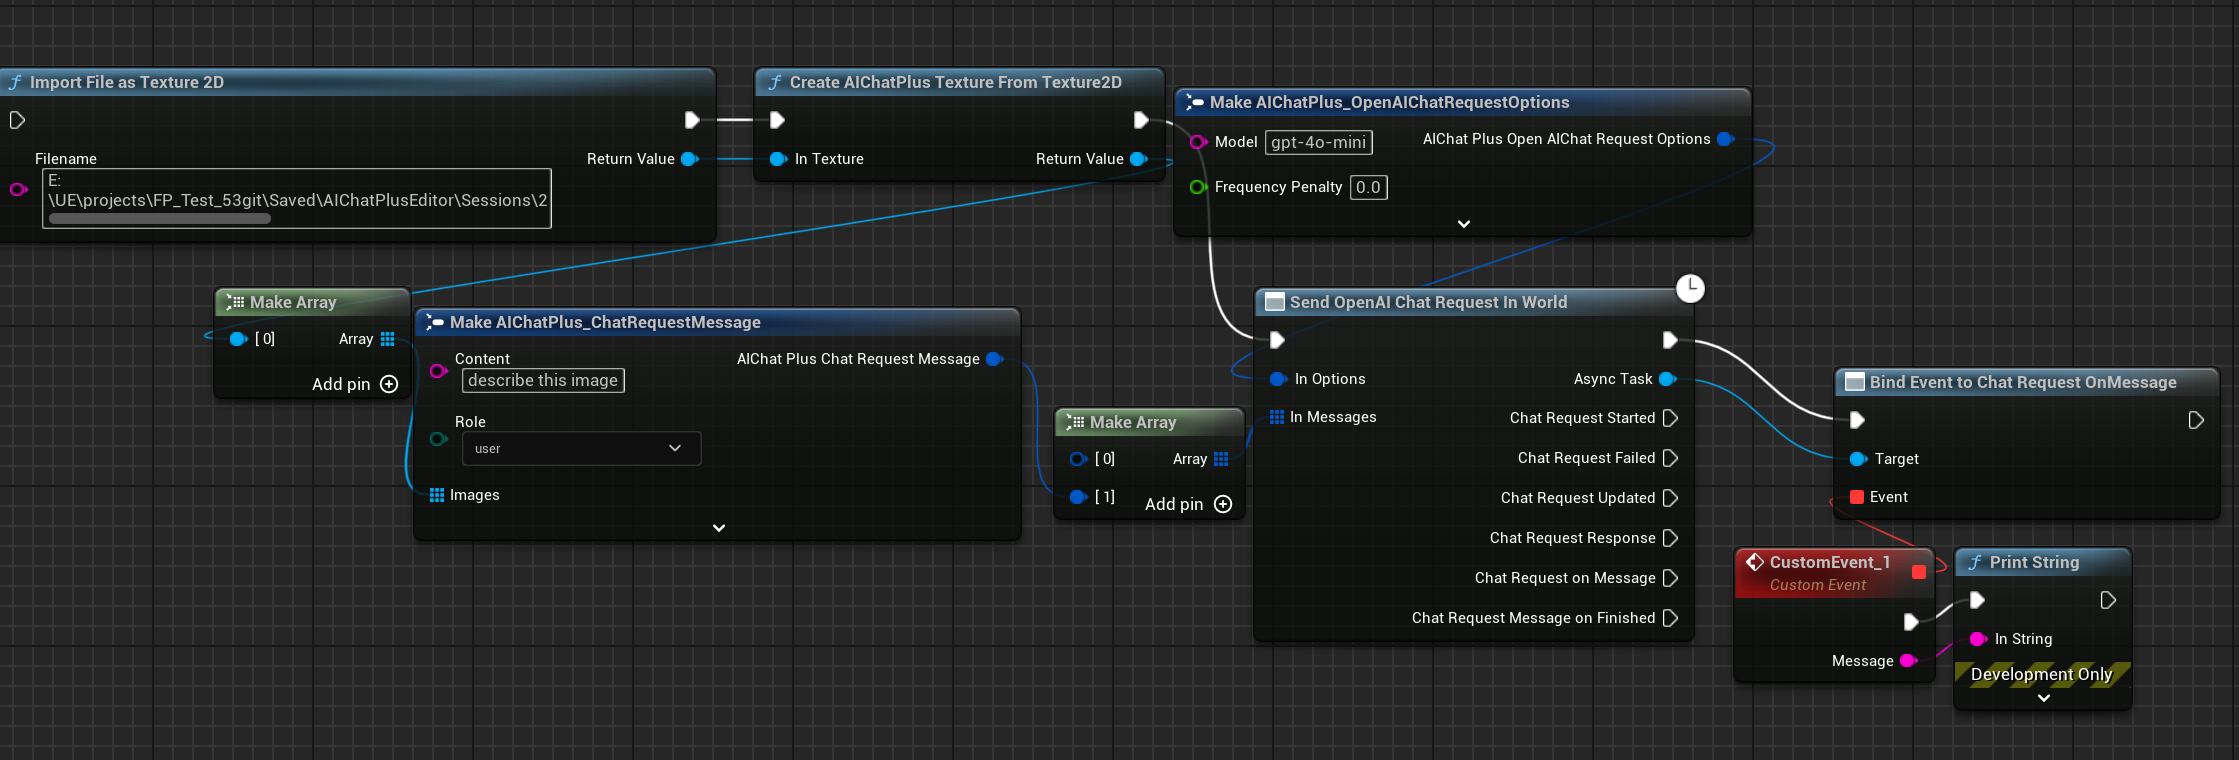
Create Messages. Create a node first: "Import File as Texture 2D" to load an image from the file system. Convert the image into a format usable by the plugin through the node "Create AIChatPlus Texture From Texture2D". Use the "Make Array" node to connect the image to the "Images" field of the "AIChatPlus_ChatRequestMessage" node. Set the content of the "Content" field to "describe this image".
As shown in the figure:

The complete blueprint looks like this, run the blueprint, and you will see the results displayed on the screen.
Edit image
OpenAI supports modifying regions marked on images.
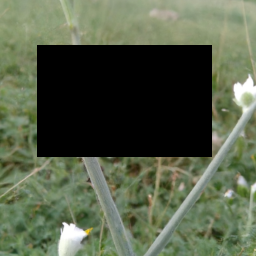
First, prepare two images.
An image that needs to be edited, src.png
One of the images is called mask.png, which marks the areas that need to be modified. By editing the original image, you can set the transparency of the modified areas to 0, that is, change the Alpha channel value to 0.
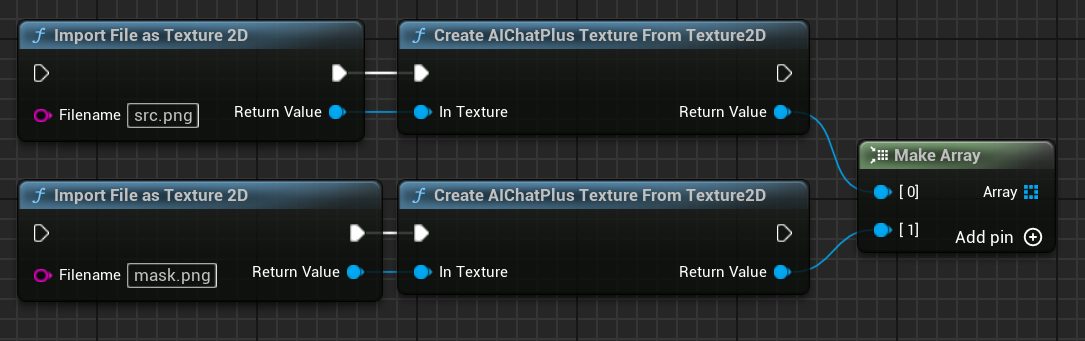
Separately read the two photos above and combine them into an array.
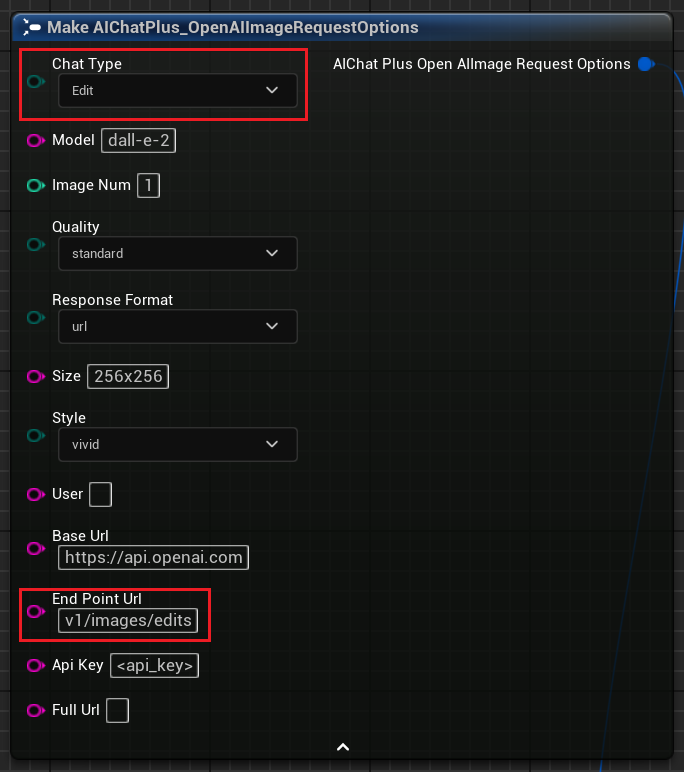
Create a "OpenAI Image Options" node, set ChatType = Edit, and change "End Point Url" to v1/images/edits.
Create an "OpenAI Image Request," set the "Prompt" to "change into two butterflies," connect the "Options" node to the image array, and save the generated images to the file system.
The complete blueprint looks like this:
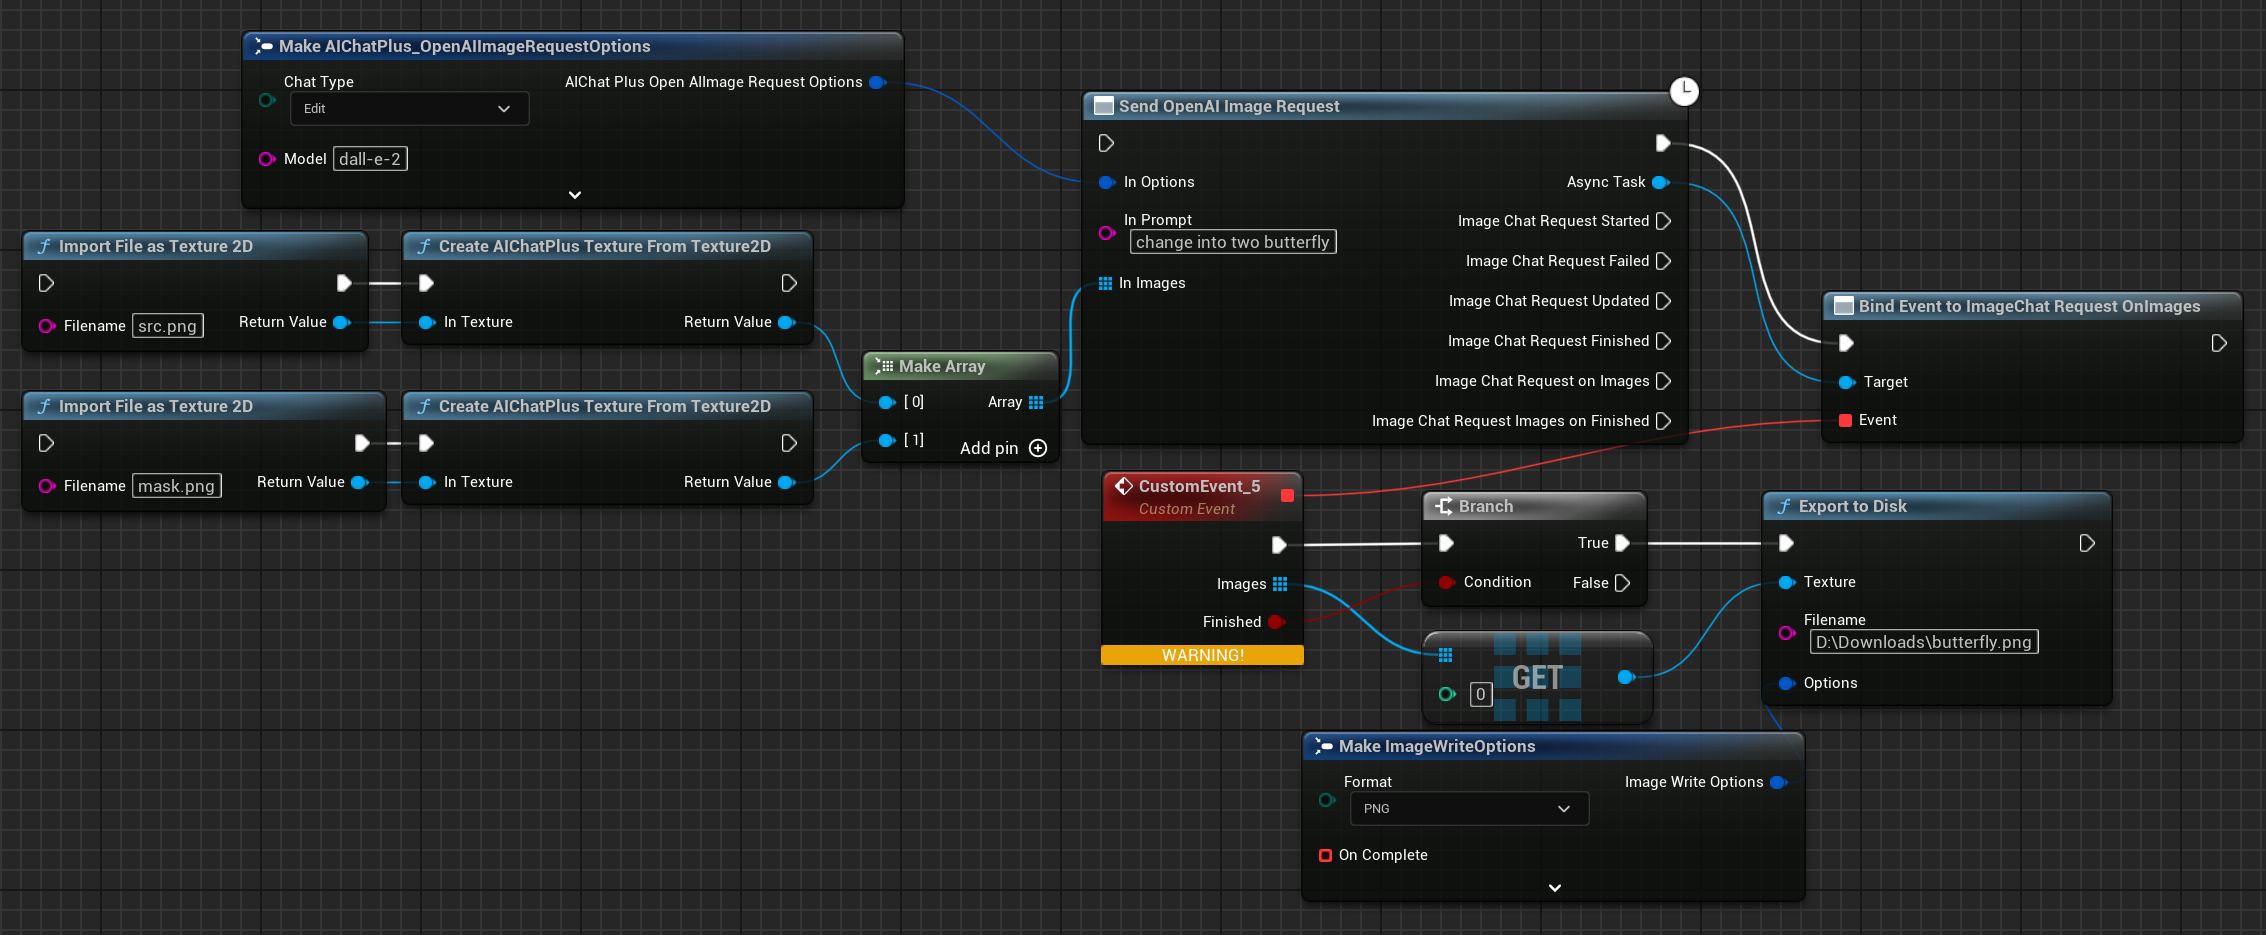
Run the blueprint and save the generated image in the specified location.
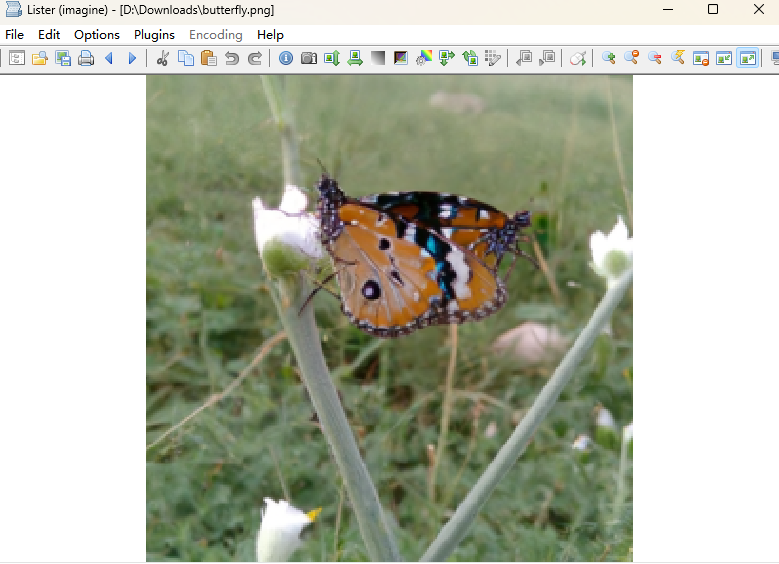
Image variants
OpenAI supports generating similar variations based on the input image.
First, prepare an image named src.png and then import it into the blueprint.

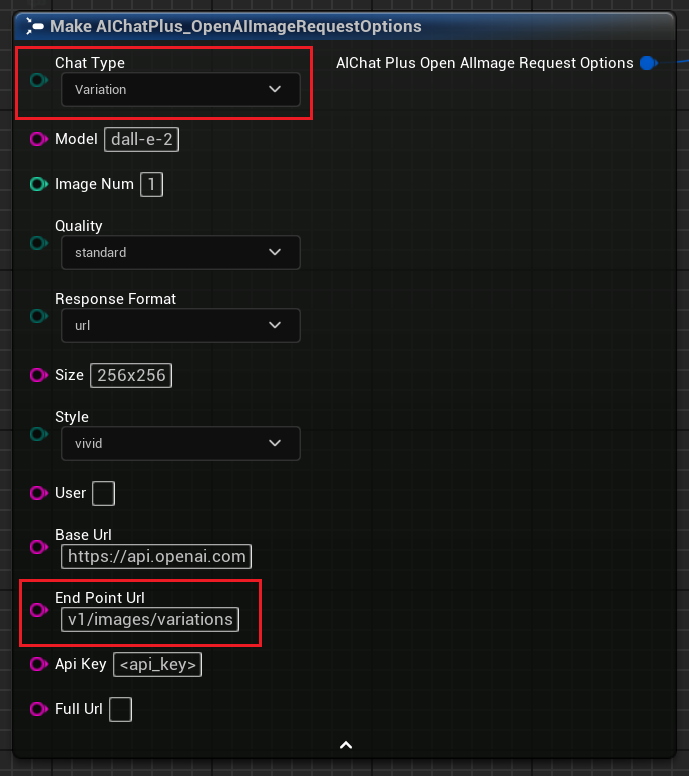
Create a node called "OpenAI Image Options" and set ChatType to Variation, then update the "End Point Url" to v1/images/variations.
Create an "OpenAI Image Request", leave the "Prompt" blank, link to the "Options" node and the image, and save the generated image to the file system.
The complete blueprint looks like this:

Run the blueprint, and save the generated image at the specified location.

Original: https://wiki.disenone.site/en
This post is protected by CC BY-NC-SA 4.0 agreement, should be reproduced with attribution.
Visitors. Total Visits. Page Visits.
(https://github.com/disenone/wiki_blog/issues/new)Point out any omissions.